Installation steps for 5G antenna
The installation of 5G antennas is a technology intensive process that requires engineers to possess corresponding professional knowledge and operational skills. The following are the detailed steps for installing 5G antennas:
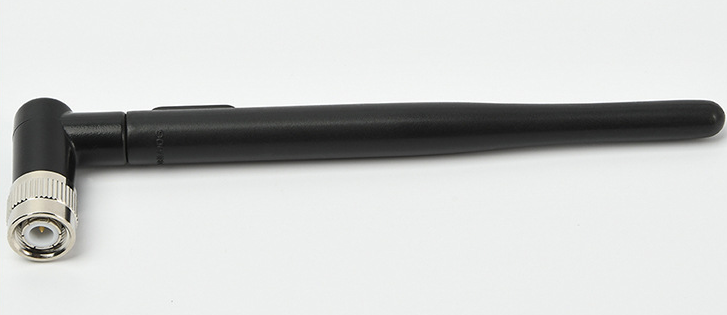
1. Preparation work: Before starting the installation, it is necessary to ensure that all necessary tools and equipment are ready. This includes safety equipment (such as helmets, seat belts), measuring tools (such as level gauges, rangefinders), installation tools (such as wrenches, screwdrivers), as well as 5G antennas and other related accessories.
2. Site selection and evaluation: Choose a suitable location for installing 5G antennas, which should meet the following conditions: high enough to cover the expected service area, away from possible obstacles, easy access to power and network connections. At the same time, conduct on-site evaluations to ensure that the structural strength of the installation points can support the weight of the antenna.
3. Design installation plan: Based on the actual situation on site, design a reasonable installation plan. This includes determining the optimal pointing angle of the antenna, calculating the required cable length, and planning the cable routing path.
4. Installing bracket: After determining the specific position of the antenna, installing bracket is the first step. The bracket must be firmly fixed to structures such as walls or rooftops to ensure the stability of the antenna. Using a spirit level to ensure that the bracket is level is crucial for the performance of the antenna.
5. Antenna installation: Install the 5G antenna onto the bracket and securely secure it with the provided fasteners. During the installation process, be careful not to damage any components of the antenna.
6. Connecting cable: Connect the antenna to the transmission cable. Ensure that the cable connections are waterproof, dustproof, and have good contact. The other end of the cable should be connected to the corresponding interface of the base station or repeater.
7. Adjust pointing: Use professional measuring tools to adjust the antenna's pointing, ensuring alignment with the predetermined coverage area. This process may require multiple fine-tuning to achieve optimal results.
8. Test signal: After the antenna installation is completed, perform a signal test. Use a signal analyzer to check the strength and quality of the signal, ensuring that the antenna is working properly.
9. Complete installation: Once the antenna is confirmed to be working properly, the final installation steps can be completed. This includes securing all cables to ensure they do not move due to wind or other external forces. At the same time, clean up the site to ensure that no tools or materials are left behind.
10. Document recording: Record detailed installation information, including antenna position, pointing angle, cable type and length, etc. These pieces of information are crucial for future maintenance and troubleshooting.
11. Safety inspection: Finally, conduct a comprehensive safety inspection to ensure that all installations comply with safety standards and there are no potential safety hazards.
